How to Build a Koi Pond in 10 Easy Steps: A Beginner’s Guide
Welcome to Your Backyard Oasis
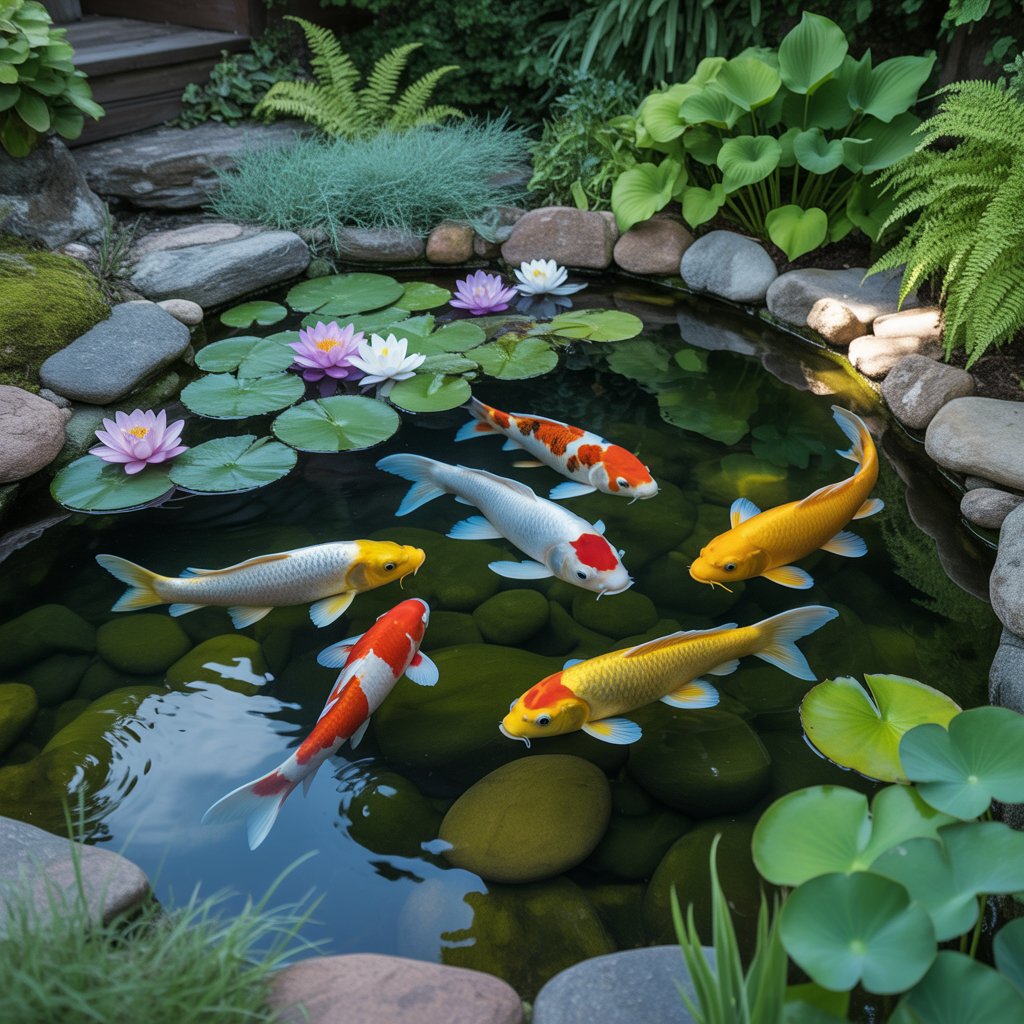
Imagine the gentle sound of trickling water and the serene sight of colorful, graceful koi fish gliding through a crystal-clear pond. A koi pond is more than just a water feature; it’s a living, dynamic ecosystem that can become the centerpiece of your garden.
While it may seem like a complex project, building a koi pond is entirely achievable with careful planning and the right materials. This guide will walk you through the process of how to make a koi pond in 10 manageable steps, ensuring you create a thriving environment for your fish.
Before You Begin: Crucial Planning Tips
Safety First: Always call 811 or your local utility locating service before you dig to mark any underground lines.
Key Considerations:
- Location: Choose a spot with partial sun (4-6 hours of direct sunlight is ideal). Avoid low-lying areas where runoff can collect and under trees where falling leaves will cause debris.
- Size: Koi need space! A good starter pond should be at least 1,000 gallons and a minimum of 3 feet deep to protect them from predators and temperature swings. Go bigger if you can.
- Budget: Remember, the cost is not just the liner and pump. Factor in a high-quality filtration system, rocks, and the fish themselves.
How to Make a Koi Pond in 10 Easy Steps
Step 1: Design and Mark the Pond Outline
- Action: Sketch your pond shape on paper. Then, use a garden hose or a can of marking spray paint to outline the design directly on the ground. Koi do best with gentle curves and avoid sharp corners, which create dead spots for water flow.
- Pro Tip: Include plans for different depth levels—a shallow (1-foot) shelf for marginal plants and a deep (3-4 foot) zone for the koi.
Step 2: Excavate the Pond
- Action: Start digging within your outline. Create the plant shelves first, then dig out the deeper section. Slope the sides gently to prevent cave-ins.
- Pro Tip: Remove any sharp rocks, roots, or debris from the hole as you dig. The smoother the excavation, the safer it is for your pond liner.
Step 3: Prepare for the Plumbing and Filter
- Action: Dig a trench from the deepest part of the pond to the location where your external filter and pump will be housed (usually in a nearby filter pit or behind a waterfall).
- Pro Tip: This trench will hold the plumbing pipe that connects the bottom drain to the pump. If you’re using a submersible pump inside the pond, you can skip this step, but external pumps are generally more efficient for koi ponds.
Step 4: Install the Bottom Drain and Plumbing
- Action: A bottom drain is essential for a koi pond, as it pulls waste from the deepest part. Place the drain in the center of the deep zone and connect it to the pipe in your trench. Run the pipe to the pump location.
- Pro Tip: Use rigid PVC pipe for all permanent plumbing, as it is more durable and reliable than flexible tubing.
Step 5: Add the Underlayment and Liner
- Action: First, line the entire excavated hole with a protective pond underlayment. This cushioned fabric prevents sharp objects from puncturing the liner. Then, carefully unfold the EPDM rubber pond liner (the gold standard for koi ponds) and drape it over the hole.
- Pro Tip: On a warm, sunny day, the liner will be more flexible and easier to work with. Smooth it into the contours of the hole, pressing it against the shelves and bottom.
Step 6: Place Rocks and Create the Waterfall (Optional)
- Action: Begin placing your rocks, starting with the largest ones around the outer edge to anchor the liner. Use smaller stones to cover the liner on the shelves and bottom. If you’re building a waterfall, stack flat rocks to create a cascading effect, ensuring the water will flow back into the pond.
- Pro Tip: Avoid using limestone or other rocks that can dramatically alter the water’s pH.
Step 7: Install the Filtration System and Pump
- Action: A koi pond needs a robust filtration system. Install your chosen filter (a combination of a mechanical filter like a sieve or vortex to remove solids and a biological filter with media for beneficial bacteria is best). Connect the pump, which will pull water from the bottom drain and push it through the filter and back to the pond via the waterfall or a return jet.
- Pro Tip: Your pump should be able to circulate the entire pond’s volume at least once every two hours. For a 1,000-gallon pond, you need a pump rated for at least 500 Gallons Per Hour (GPH).
Step 8: Fill the Pond and Treat the Water
- Action: Slowly fill the pond with a garden hose. As it fills, continue to adjust the liner and rocks for a natural look. Once full, trim away the excess liner, leaving about a foot buried under the surrounding rocks.
- Pro Tip: Add a water dechlorinator to neutralize chlorine, chloramines, and heavy metals from the tap water. This is non-negotiable for fish safety.
Step 9: Cycle the Water and Add Plants
- Action: Turn on the pump and let the system run for at least 2-4 weeks before adding any koi. This “cycling” process allows essential beneficial bacteria to colonize the filter, which will convert harmful ammonia from fish waste into less harmful nitrates.
- Pro Tip: Add hardy, fast-growing aquatic plants like water hyacinth or hornwort. They help absorb nitrates and provide shade, competing with algae for nutrients.
Step 10: Introduce Your Koi
- Action: After the pond has cycled, it’s time for the main event! Acclimate your koi slowly. Float the sealed transport bag on the pond’s surface for 15-20 minutes to equalize the temperature. Then, gradually add small amounts of pond water to the bag over another 15 minutes before gently releasing the fish.
- Pro Tip: Start with just a few, small, healthy koi. Do not overcrowd your new pond. A good rule is one koi per 250 gallons of water to start.
Ongoing Koi Pond Maintenance
- Feed Sparingly: Feed koi a high-quality food, only as much as they can eat in 5 minutes, once or twice a day.
- Test Water Weekly: Use a liquid test kit to monitor ammonia, nitrite, nitrate, and pH levels, especially in a new pond.
- Clean Filters: Rinse mechanical filter pads in pond water (not tap water) to preserve beneficial bacteria.
Conclusion: Enjoy Your Living Masterpiece
Building a koi pond is a rewarding project that pays back in years of tranquility and beauty. By following these 10 steps, you’ve not just built a pond—you’ve created a thriving ecosystem. Be patient, learn as you go, and soon you’ll be enjoying the peaceful company of your very own koi.